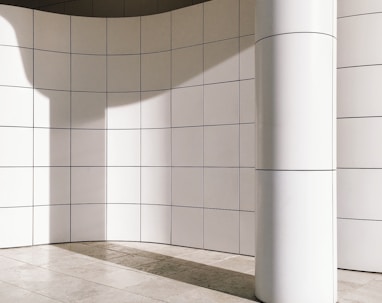
Laying Tiles
Laying tiles can be a satisfying and rewarding DIY project. Here are detailed instructions for laying tiles in both residential and commercial settings:
Materials Needed:
Tiles of your choice
Tile adhesive (thin-set mortar)
Tile spacers (for even spacing between tiles)
Tile cutter or wet saw
Notched trowel
Grout
Grout float
Sponge and bucket of water
Level
Pencil or marker
Measuring tape
Safety goggles and knee pads (for protection)
For Residential Settings:
Surface Preparation:
Ensure the surface is clean, dry, and level. If it's a wooden floor, consider adding a cement backer board for stability.
Plan Your Layout:
Decide on the pattern and layout of the tiles. Start from the center and work outwards for a balanced look.
Apply Adhesive:
Spread a layer of tile adhesive using a notched trowel, covering an area that's manageable within 15-20 minutes.
Lay the Tiles:
Place the first tile in position and press it down firmly. Use spacers to maintain even gaps between tiles.
Cut Tiles as Needed:
Measure and mark any tiles that need to be cut to fit at the edges. Use a tile cutter or wet saw for precise cuts.
Continue Laying Tiles:
Work in small sections, applying adhesive and laying tiles. Use a level to ensure they're even.
Allow Tiles to Set:
Let the tiles sit undisturbed for at least 24 hours to allow the adhesive to cure.
Apply Grout:
Mix grout according to the manufacturer's instructions. Use a grout float to press the grout into the gaps between tiles.
Clean Excess Grout:
After about 15-20 minutes, wipe away excess grout with a damp sponge. Rinse the sponge frequently.
Allow Grout to Cure:
Let the grout cure for a few days before walking on the tiles.
For Commercial Settings:
Commercial settings often have larger areas and more foot traffic, so the process is largely the same but with a few additional considerations:
Choose Durable Tiles:
Opt for tiles with a higher PEI (Porcelain Enamel Institute) rating, which indicates their durability.
Consider Using a Tile Leveling System:
This ensures that tiles are perfectly level and aligned, which is important in high-traffic areas.
Use Rapid-Setting Adhesive:
In commercial settings, you might want to use a rapid-setting adhesive to speed up the process.
Consider Hiring a Professional for Large Areas:
If the area is very large or complex, consider consulting a professional to ensure it's done efficiently and effectively.
Always follow manufacturer instructions for the specific products you're using. Additionally, take your time and work carefully. With patience and attention to detail, you can achieve a professional-looking tile installation.